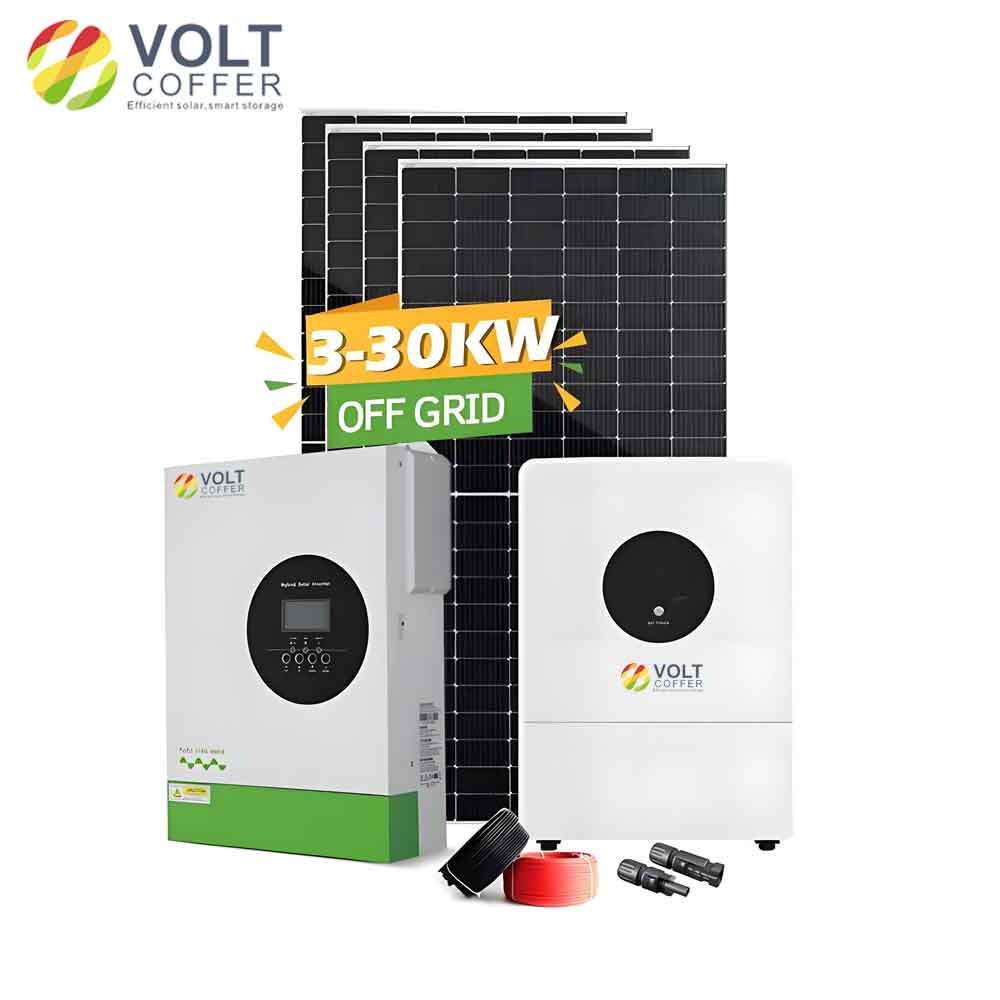
Installing Solar Panel Kits at your home is great way to reduce your energy bills and lower your environmental footprint. However, to ensure you get the most out of your Solar Panel Kit, it is important to follow best practices during installation. This guide will walk you through the essential steps and considerations to make your solar installation efficient, safe, and long-lasting.

1. Pre-Installation Planning
1.1 Site Assessment
Before starting the installation of a Solar Panel Kit, conduct a thorough site assessment to determine the optimal location for your solar panels. Consider the following factors:
- Sunlight Exposure: Ensure the selected area receives maximum sunlight throughout the day.
- Roof Condition: Inspect the roof for any damage or wear and ensure it can support the weight of the Solar Panel Kit.
- Shading: Avoid areas with shading from trees, buildings, or other structures that can reduce the efficiency of your Solar Panel Kit.
| Factor | Importance | Notes |
|---|---|---|
| Sunlight Exposure | High | Maximize exposure for optimal performance |
| Roof Condition | Medium | Check for structural integrity |
| Shading | High | Minimize shading to improve efficiency |
1.2 System Sizing
Determine the size of the Solar Panel Kit based on your household’s energy needs. Calculate your average monthly energy consumption in kilowatt-hours (kWh) and choose a system that meets or exceeds this demand.
2. Selecting the Right Components
Choosing the right components for your Solar Panel Kit is crucial for the system’s performance and longevity.
2.1 Solar Panels
Select high-quality solar panels with good efficiency ratings. Monocrystalline panels are more efficient but tend to be more expensive, while polycrystalline panels are more affordable but less efficient.
2.2 Inverter
Choose an inverter that matches your system’s requirements. Microinverters and power optimizers are ideal for systems with shading issues or complex layouts, while string inverters are suitable for simpler installations with consistent sunlight.
2.3 Mounting Hardware
Ensure the mounting hardware is compatible with your roof type and designed to withstand local weather conditions. It should securely hold the solar panels in place without causing damage to the roof.
| Component | Options | Considerations |
|---|---|---|
| Solar Panels | Monocrystalline, Polycrystalline | Efficiency, Cost |
| Inverter | String, Microinverter, Power Optimizer | System layout, Shading |
| Mounting Hardware | Roof mounts, Ground mounts | Roof compatibility, Weather resistance |
3. Installation Process
3.1 Safety First
Always prioritize safety when installing a Solar Panel Kit. Use appropriate safety gear, including gloves, safety glasses, and harnesses. Follow local electrical codes and regulations to ensure a safe installation.
3.2 Mounting the Panels
- Mark the Layout: Mark the positions where the solar panels will be installed based on your site assessment.
- Install Mounting Brackets: Attach the mounting brackets to the roof, ensuring they are securely fastened to the rafters.
- Attach Rails: Fix the rails to the mounting brackets, making sure they are level and properly aligned.
- Secure Solar Panels: Place the solar panels on the rails and secure them using the provided clamps or fasteners.
3.3 Electrical Connections
- Install the Inverter: Mount the inverter in a location that is easily accessible for maintenance and close to your main electrical panel.
- Connect Wiring: Run the wiring from the solar panels to the inverter. Use appropriate conduit and weatherproof connections to protect the wiring.
- Grounding: Properly ground the entire system to prevent electrical shocks and ensure safety.
3.4 System Testing
Once the installation is complete, perform thorough testing to ensure everything is working correctly. Check the following:
- Voltage Output: Verify the voltage output from the solar panels.
- Inverter Operation: Ensure the inverter is converting DC to AC properly.
- Monitoring System: Set up and test the monitoring system to track the performance of your Solar Panel Kit.
4. Post-Installation Considerations
4.1 Maintenance
Regular maintenance is essential to keep your Solar Panel Kit operating at peak efficiency. This includes:
- Cleaning Panels: Clean the solar panels periodically to remove dust and debris.
- Inspection: Inspect the system regularly for any signs of wear or damage.
- Monitoring: Continuously monitor the system’s performance and address any issues promptly.
4.2 Upgrades and Expansions
Consider future upgrades or expansions to your Solar Panel Kit. This might include adding more panels or incorporating battery storage to store excess energy for later use.
| Maintenance Task | Frequency | Importance |
|---|---|---|
| Cleaning Panels | Every 3-6 months | Maintains efficiency |
| System Inspection | Annually | Identifies and addresses potential issues |
| Performance Monitoring | Ongoing | Ensures optimal operation and quick issue resolution |
5. Financial Incentives and Rebates
Take advantage of financial incentives and rebates offered by local, state, and federal governments to reduce the cost of your Solar Panel Kit installation. These incentives can include tax credits, grants, and rebates that significantly lower your initial investment.
6. Conclusion
Installing a Solar Panel Kit is a rewarding endeavor that can provide long-term savings on energy bills and contribute to a sustainable future. By following these best practices, you can ensure a successful and efficient installation that maximizes the benefits of your solar energy system.
From thorough pre-installation planning and selecting the right components to the actual installation process and post-installation maintenance, each step is crucial for the optimal performance of your Solar Panel Kit. With careful consideration and adherence to these guidelines, you can harness the power of the sun and enjoy the numerous advantages of solar energy in your home.
