
Assembling your own solar kit can be a rewarding project, and it’s a great way to gain a deeper understanding of renewable energy systems. Here’s a basic guide to help you get started:
Understanding the Components
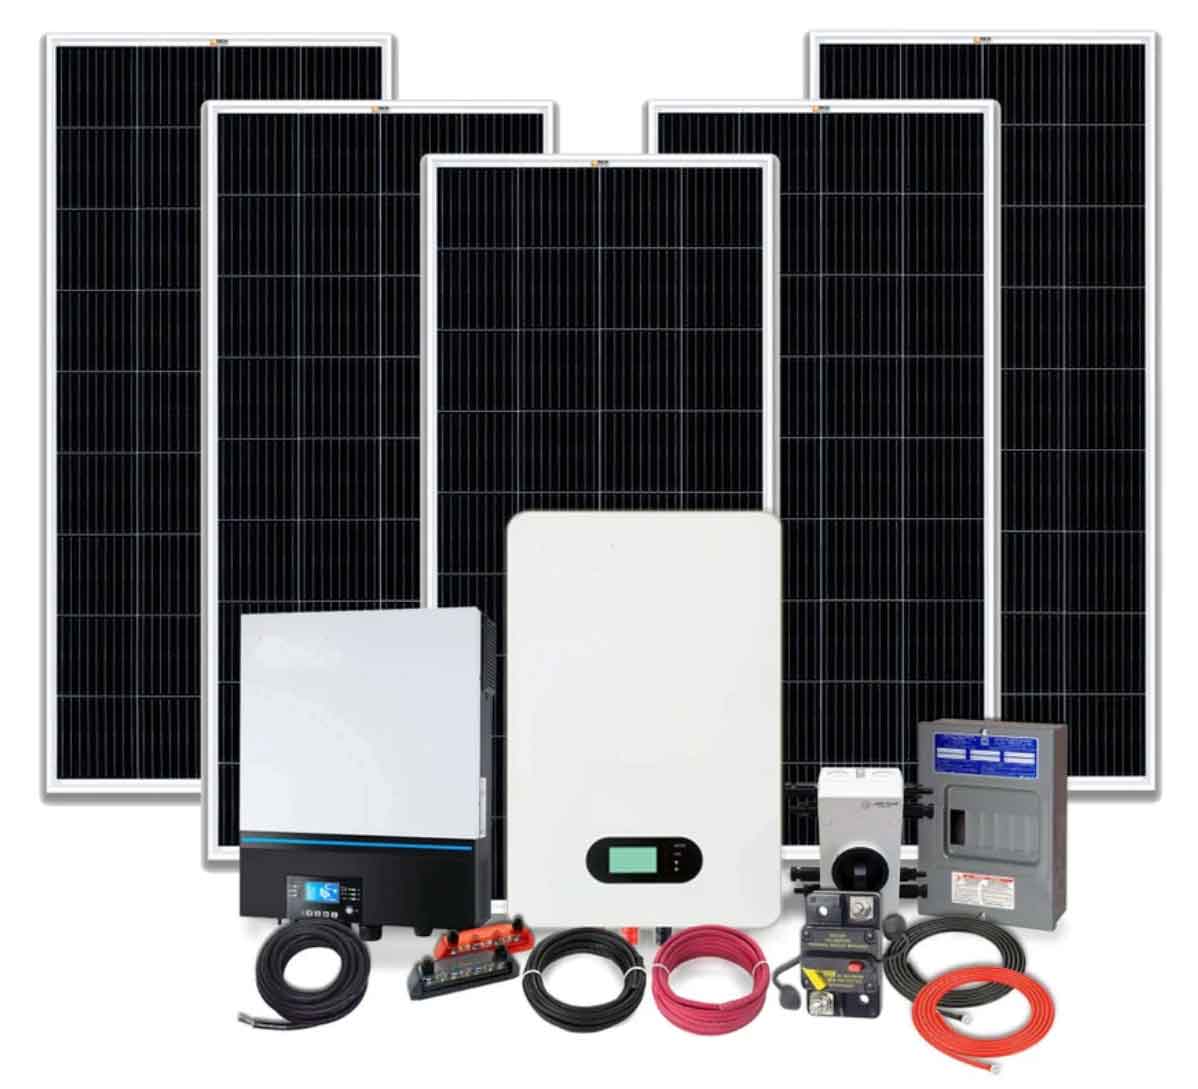
- Solar Panels: The most visible part of a solar kit, they convert sunlight into electricity.
- Inverter: Converts the direct current (DC) electricity produced by the panels into alternating current (AC) electricity that can be used in your home.
- Batteries (Optional): Store excess electricity for use when the sun isn’t shining.
- Charge Controller: Protects batteries from being overcharged or over-discharged.
- Mounting System: Used to securely attach solar panels to your roof, ground, or pole.
- Wiring and Connectors: To connect all the components safely and efficiently.
Steps to Assemble
- Site Assessment:
- Determine the best location for your solar panels.
- Ensure there’s sufficient sun exposure and minimal shading.
- Calculate Your Energy Needs:
- Estimate the amount of electricity you’ll need to generate.
- This will help you decide the number and size of solar panels, as well as battery capacity, if using.
- Obtaining the Components:
- Purchase solar panels, an inverter, charge controller, batteries (if needed), mounting system, and wiring.
- Ensure all components are compatible and meet your power requirements.
- Installation of Mounting System:
- Install the mounting system according to the manufacturer’s guidelines.
- Ensure it’s securely attached and properly angled for maximum sun exposure.
- Installing Solar Panels:
- Mount the solar panels onto the mounting system.
- Make sure they’re securely fastened and connected properly.
- Wiring:
- Connect the solar panels to the charge controller, and then to the batteries (if included).
- Connect the inverter to the batteries.
- Ensure all connections are tight and secure.
- Follow proper electrical safety standards.
- Connecting to an Inverter:
- Connect the inverter to your home’s electrical system, if you plan to use the solar power directly.
- Testing the System:
- Once everything is connected, test the system to ensure it’s working properly.
- Check for any errors or issues in the connections.
Important Considerations
- Safety: Working with electricity requires caution. If you’re not comfortable with electrical systems, consider hiring a professional.
- Permits and Regulations: Check local regulations and obtain any required permits before starting.
- Maintenance: Regular maintenance is required to keep your solar kit functioning efficiently.
- Insurance: Inform your home insurance provider about your solar installation.
Assembling your own solar kit can be a cost-effective and educational way to harness solar energy, but it’s important to do thorough research and follow safety protocols. Remember, it’s always best to consult with or hire a professional if you’re unsure about any part of the process.
Pages: 1 2