
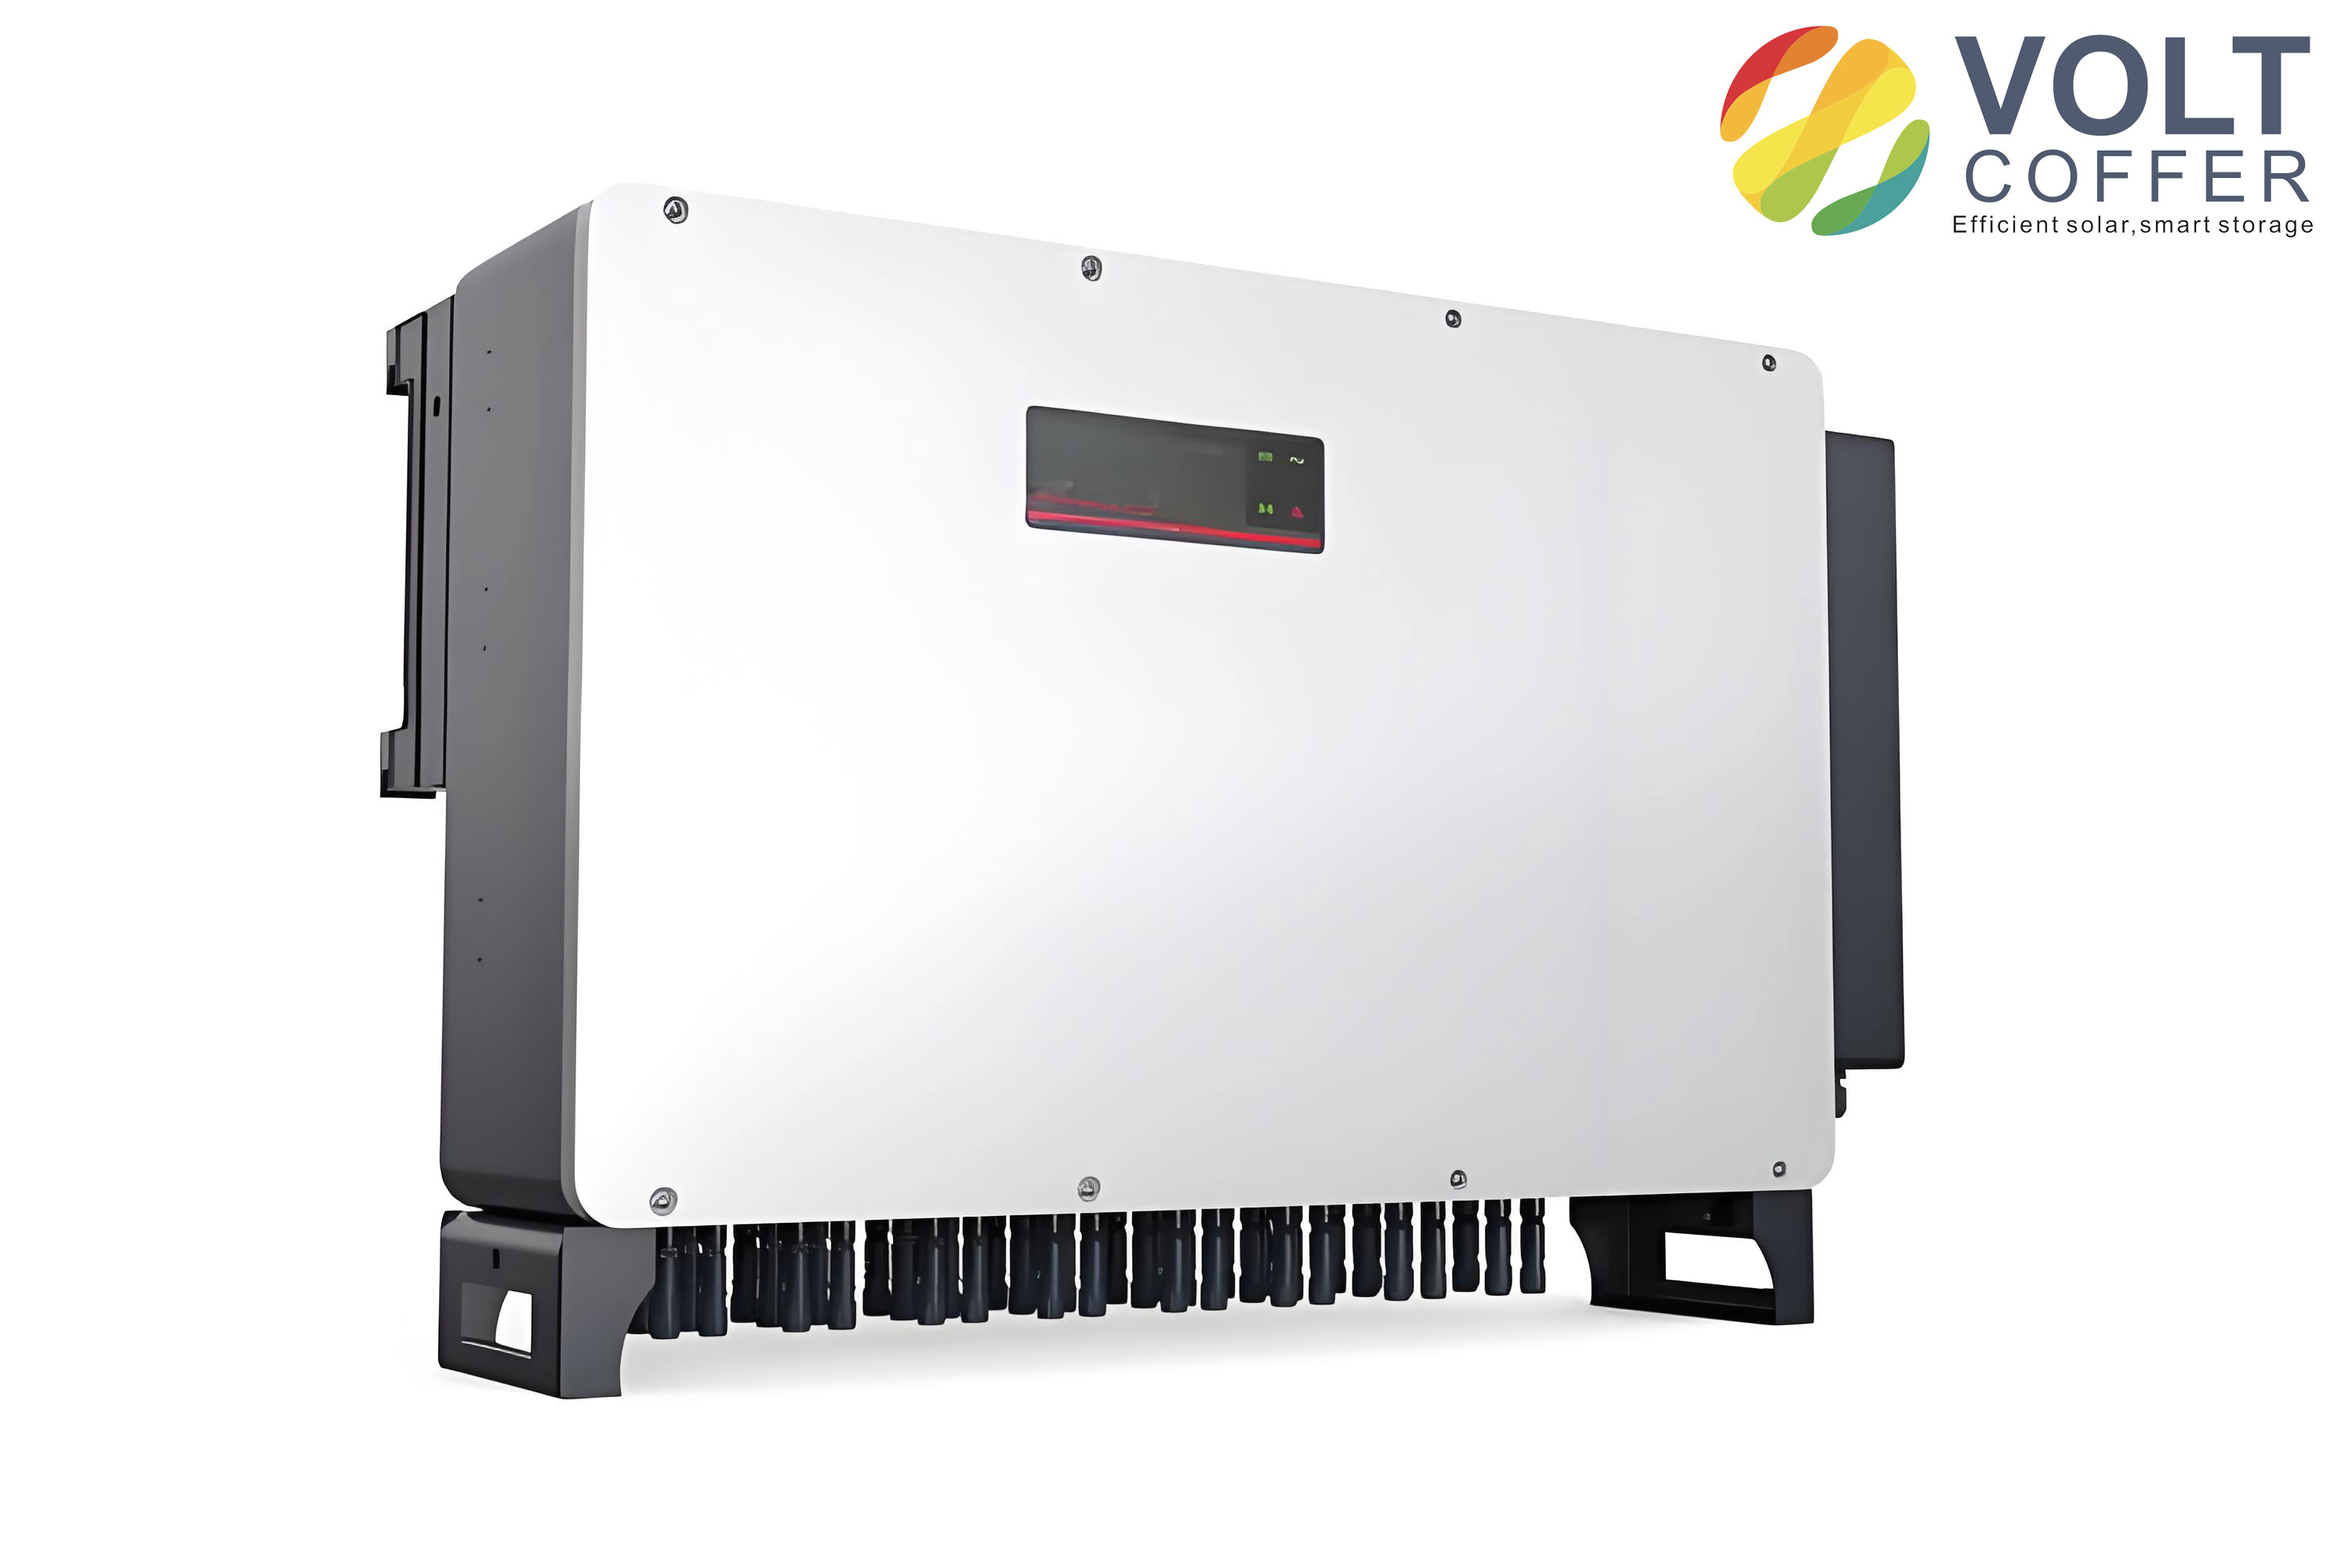
In this article, I present the complete design of a 50 kW three-phase grid-connected solar inverter. The solar inverter is the core equipment of a photovoltaic power generation system, converting the direct current (DC) generated by solar panels into alternating current (AC) that meets the requirements of the public grid. I will cover the hardware circuit design, including both the main power circuit and the control circuit, as well as the software design. The design emphasizes high efficiency, safety, and grid compatibility. Throughout the discussion, I will repeatedly highlight the critical role of the solar inverter in ensuring reliable and high-quality power conversion.
1. Main Power Circuit Design
The main power circuit of the solar inverter adopts an efficient line-frequency isolation transformer design, which ensures high safety. The transformer provides galvanic isolation and eliminates harmonics and DC components generated during the inversion process, meeting the stringent requirements of grid connection standards. The main power circuit consists of a DC circuit breaker, DC-side lightning protection, DC filter, DC-link capacitors, IGBT modules, reactors, line-frequency transformer, AC filter, soft starter, AC-side lightning protection, and AC circuit breaker. I will detail the selection and parameters of each component.
1.1 DC Circuit Breaker
I selected a 160 A rated current, DC 500 V / 4-pole circuit breaker. By connecting two poles in series, the breaker achieves a rated DC voltage of 1000 V, allowing control over the input power from the solar panels. This component is essential for safely isolating the solar inverter during maintenance or fault conditions.
1.2 DC-Side Lightning Protection
A surge protective device (SPD) with a rated voltage of DC 1000 V and a maximum discharge current of 40 kA is used. When lightning strikes the DC input lines of the solar inverter, the SPD quickly activates to divert the surge current to ground, protecting the internal components.
1.3 DC Filter
I chose a DC filter with a working voltage of DC 1100 V and a rated current of 150 A. It suppresses common-mode and differential-mode high-frequency interference from the DC side, ensuring clean power input to the IGBT inverter stage.
1.4 DC-Link Capacitors
The DC-link capacitor bank is a critical part of the solar inverter, absorbing the high-amplitude ripple current that results from converting the constant DC power from the panels into the fluctuating AC power fed to the grid. The selection involves calculating the capacitance, voltage rating, and ripple current capability. I used four 420 µF / DC 1100 V metalized polypropylene film capacitors connected in parallel, giving a total capacitance of 1680 µF. The equivalent series resistance (ESR) and ripple current handling are verified against the inverter’s operating conditions. The ripple current requirement can be approximated by:
$$ I_{C_{rms}} \approx \sqrt{I_{out_{rms}}^2 – I_{DC}^2} $$
where $I_{out_{rms}}$ is the RMS output current of the solar inverter and $I_{DC}$ is the average DC current from the panels. For a 50 kW system with 270 V AC line-to-line output, the RMS line current is approximately:
$$ I_{out_{rms}} = \frac{P}{\sqrt{3} \cdot V_{LL} \cdot \cos\phi} \approx \frac{50000}{\sqrt{3} \cdot 270 \cdot 1} \approx 107\,A $$
The DC input current at nominal power (assuming 600 V DC bus) is $I_{DC} = 50000 / 600 \approx 83.3\,A$. The ripple current in the DC-link capacitor is then approximately:
$$ I_{C_{rms}} \approx \sqrt{107^2 – 83.3^2} \approx \sqrt{11449 – 6944} \approx \sqrt{4505} \approx 67.1\,A $$
Each of the four capacitors must handle at least one-fourth of this ripple current, i.e., about 16.8 A RMS. I ensured that the selected capacitors have a ripple current rating exceeding this value.
1.5 IGBT Modules
Three Infineon IGBT modules rated at 300 A / 1200 V are used to form a three-phase full-bridge inverter circuit. These modules convert the DC voltage into a high-frequency pulse-width modulated (PWM) AC waveform. Since IGBTs operate at high frequency and generate significant heat, they are mounted on a heatsink with forced-air cooling. Snubber capacitors of 2 µF / 1200 V are connected across the collector and emitter of each IGBT to absorb transient overvoltages during switching.
1.6 Reactors and AC Filter
The reactors are aluminum-wound, rated at 120 A with an inductance of 0.4 mH at 50 Hz. Together with three 47 µF / 450 V AC filter capacitors (connected in a star or delta configuration), they form a low-pass filter that attenuates the high-frequency carrier component of the PWM waveform, delivering a clean 50 Hz sinusoidal current to the grid. The cutoff frequency of the LC filter is:
$$ f_c = \frac{1}{2\pi \sqrt{L C}} $$
With L = 0.4 mH and each phase capacitance of 47 µF (assuming a star-connected capacitor bank effective capacitance per phase is 47 µF), the cutoff frequency is:
$$ f_c = \frac{1}{2\pi \sqrt{0.4 \times 10^{-3} \times 47 \times 10^{-6}}} \approx \frac{1}{2\pi \sqrt{1.88 \times 10^{-8}}} \approx \frac{1}{2\pi \times 0.000137} \approx 1160\,Hz $$
This is far above the 50 Hz fundamental but well below the typical switching frequency (e.g., 10-20 kHz), ensuring effective filtering.
1.7 Line-Frequency Transformer
A 50 kVA, 50 Hz aluminum-wound transformer with a primary rated voltage of 270 V and secondary rated voltage of 400 V is used, with a Dyn11 connection. The transformer provides galvanic isolation between the solar inverter and the grid, and also steps up the inverter output voltage to match the grid voltage. The turns ratio is:
$$ N = \frac{V_{primary}}{V_{secondary}} = \frac{270}{400} = 0.675 $$
The transformer also helps in attenuating any residual DC component and common-mode noise.
1.8 Soft Starter, AC-Side Lightning Protection, AC Circuit Breaker
The soft starter consists of a main contactor and an auxiliary contactor to avoid inrush current when connecting the solar inverter to the grid. The AC-side lightning protection uses a surge protective device rated at AC 400 V with a maximum discharge current of 40 kA. The AC circuit breaker is rated at AC 690 V, 100 A, 3-pole, and serves as the main disconnect between the solar inverter and the public grid.
Summary Table of Main Power Components
| Component | Rated Parameters | Quantity |
|---|---|---|
| DC Circuit Breaker | 160 A, DC 500 V (4P, 2P in series → DC 1000 V) | 1 |
| DC SPD | DC 1000 V, 40 kA | 1 |
| DC Filter | DC 1100 V, 150 A | 1 |
| DC-Link Capacitor | 420 µF, DC 1100 V each (4 in parallel) | 4 |
| IGBT Module | 300 A, 1200 V | 3 |
| Reactor (inductor) | 120 A, 0.4 mH, 50 Hz | 3 |
| AC Filter Capacitor | 47 µF, 450 V | 3 |
| Line-Frequency Transformer | 50 kVA, 50 Hz, 270 V / 400 V, Dyn11 | 1 |
| Soft Starter (contactor) | AC 400 V, 100 A | 2 |
| AC SPD | AC 400 V, 40 kA | 1 |
| AC Circuit Breaker | AC 690 V, 100 A, 3P | 1 |
2. Control Circuit Design
The control circuit of the solar inverter is built around a DSP (Digital Signal Processor) as the core, along with IGBT driver circuits, analog signal sampling, grid voltage synchronization, digital I/O, a touch LCD display, and communication interfaces. I chose the TMS320F28335 floating-point DSP from Texas Instruments for its high precision, fast execution speed, and rich peripheral set.
2.1 DSP Main Control Unit
The DSP is responsible for real-time monitoring of various signals, calculating control outputs, executing MPPT algorithms, and generating SPWM (Sinusoidal Pulse Width Modulation) signals. It also handles fault detection and communication with the human-machine interface.
2.2 Touch Display Unit
A 7-inch color touch LCD displays real-time operating data such as voltage, current, power, daily energy yield, and fault logs. It also allows parameter setting and control commands (start/stop).
2.3 Analog Signal Sampling
I designed analog sampling circuits for the following signals: three grid voltages, three grid currents, three inverter output voltages, three inverter output currents, DC input voltage, DC input current, and the heatsink temperature. These signals are conditioned, scaled, and fed to the DSP’s ADC channels. For high accuracy, I used precision operational amplifiers and isolation amplifiers where necessary.
2.4 Grid Voltage Synchronization Circuit
To synchronize the inverter output current with the grid voltage (same frequency and phase), the DSP needs to capture the grid voltage’s zero-crossing points. I implemented a circuit that converts the sinusoidal grid voltage into a square wave of the same frequency and phase. The DSP captures the rising edge of this square wave using its capture (CAP) module, generating an interrupt. The phase-locked loop (PLL) algorithm then tracks the grid angle $\theta_g$.
2.5 IGBT Driver Circuit
The IGBT modules require proper gate drive with electrical isolation and protection. I used Mitsubishi’s hybrid IC M57959L, which features short-circuit and overload protection. When an overcurrent or short-circuit condition is detected, the M57959L performs a “soft shutdown” of the IGBT and sends a fault signal to the DSP. The gate drive circuit must provide sufficient peak current (typically ±15 A) to charge and discharge the IGBT’s input capacitance quickly.
2.6 Digital Input/Output (I/O)
Digital inputs monitor signals such as driver overcurrent, load overload, PV array insulation resistance, transformer/reactor temperature switches, and emergency stop. Digital outputs control the AC contactors, cooling fans, and alarm indicators.
2.7 Communication Interface
An RS485 interface with MODBUS protocol is implemented for remote monitoring. This allows the solar inverter to communicate with a central SCADA system or a data logger for performance analysis.
3. Software Design
The software of the solar inverter is the heart of the system, responsible for all control actions, monitoring, and protection. I divided the software into two main parts: the main program and the interrupt service routines (ISRs).
3.1 Main Program
In the main program, the DSP initializes all peripherals (clock, GPIO, ADC, PWM, CAP, SCI, etc.) and sets initial system states. Then it enters an infinite loop where it:
- Refreshes display parameters on the touch screen.
- Checks for any system faults (grid abnormality, DC overvoltage, etc.).
- Scans for commands from the touch display: if no command, it continues looping; if a parameter setting command is received, it modifies and saves the corresponding parameters; if an automatic start command is given, it proceeds to the grid-connection routine.
The grid-connection routine first verifies that the grid voltage and frequency are within acceptable ranges and that the DC input voltage from the PV array exceeds the startup threshold (500 V). Once these conditions are met, the soft starter is activated to connect the solar inverter to the grid. The inverter then begins to track the grid phase, frequency, and amplitude. After successful synchronization, the inverter enters the MPPT (Maximum Power Point Tracking) mode.
3.2 MPPT Algorithm
To achieve both fast dynamic response and stable steady-state operation, I implemented a two-stage MPPT method. When the PV array voltage is below the theoretical voltage at the maximum power point (MPP), a Constant Voltage (CVT) method is used to quickly bring the operating point near the MPP. Then, a Perturb and Observe (P&O) method is employed for fine tracking, which has low steady-state power oscillations. The MPPT algorithm determines the reference DC-link voltage, which is then regulated by the outer voltage control loop.
3.3 Interrupt Service Routines (ISRs)
The ISRs handle time-critical tasks:
- ADC sampling of all analog signals at a high rate (e.g., 20 kHz).
- Grid voltage zero-crossing capture for synchronization.
- Data transmission to/from the host computer (e.g., via RS485).
- Fault protection: detecting grid over-voltage/under-voltage, over-frequency/under-frequency, phase error, DC over-voltage, load overload, and islanding conditions.
- Generation of SPWM drive signals for the IGBTs.
I adopted a dual-loop control strategy. The inner loop is the grid current control loop, which regulates the inverter output current to be sinusoidal and in phase with the grid voltage (unity power factor). The outer loop is the DC-link voltage control loop, which maintains the DC bus voltage at the reference value determined by the MPPT algorithm. The control block diagram can be represented by the following differential equations:
Current loop: The inverter output voltage $v_{inv}$ is controlled such that the grid current $i_g$ follows the reference $i_g^*$:
$$ v_{inv} = v_g + L \frac{di_g}{dt} + R i_g $$
where $v_g$ is the grid voltage, $L$ is the total inductance (reactor plus transformer leakage), and $R$ is the resistance. In the discrete-time domain, a proportional-resonant (PR) controller is often used to achieve zero steady-state error at the fundamental frequency:
$$ G_{PR}(s) = K_p + \frac{K_r s}{s^2 + \omega^2} $$
where $\omega = 2\pi f_{grid}$.
Voltage loop: The DC-link voltage $V_{dc}$ is regulated by adjusting the amplitude of the current reference. The power balance equation gives:
$$ C_{dc} \frac{dV_{dc}}{dt} = I_{PV} – I_{inv} $$
where $C_{dc}$ is the total DC-link capacitance, $I_{PV}$ is the current from the PV array, and $I_{inv}$ is the DC current drawn by the inverter side. The voltage controller (typically a PI controller) outputs the amplitude of the current reference.
The SPWM generation technique uses a triangular carrier wave at a switching frequency of 10 kHz. The modulation index $m$ is computed from the voltage reference, and the duty cycles for the three phases are:
$$ d_a = \frac{1}{2} + \frac{m}{2} \sin(\theta) $$
$$ d_b = \frac{1}{2} + \frac{m}{2} \sin(\theta – 120^\circ) $$
$$ d_c = \frac{1}{2} + \frac{m}{2} \sin(\theta + 120^\circ) $$
4. Key Technical Specifications
I have summarized the main performance parameters of the designed solar inverter in the table below:
| Parameter | Value |
|---|---|
| Input (DC Side) | |
| Maximum DC Power | 55 kW |
| Maximum Input Voltage | 850 V |
| Startup Voltage | 500 V |
| Maximum Input Current | 118 A |
| MPPT Voltage Range | 450 V – 820 V |
| MPPT Efficiency | > 99% |
| Maximum Efficiency | 96.5% |
| Output (AC Side) | |
| Rated Output Power | 50 kW |
| Maximum Output Current | 76 A |
| Total Harmonic Distortion (THD) at rated power | < 3% |
| Power Factor at rated power | > 99.9% |
| Allowable Grid Voltage Range | 310 V – 450 V (line-to-line) |
| Allowable Grid Frequency Range | 48 Hz – 50.5 Hz |
5. Protection and Safety Features
The solar inverter incorporates multiple protection mechanisms to ensure safe operation:
- DC overvoltage and undervoltage protection.
- AC overvoltage and undervoltage protection.
- Over-frequency and under-frequency protection.
- Short-circuit protection on both DC and AC sides.
- Islanding detection (active and passive methods).
- Thermal protection (heatsink temperature monitoring).
- Ground fault monitoring.
These protections are implemented in both hardware (e.g., via the M57959L driver) and software (via DSP interrupts and periodic checks).
6. Conclusion
I have presented a comprehensive design of a 50 kW three-phase grid-connected solar inverter, covering main power circuit component selection, control circuit architecture, and software implementation. The solar inverter achieves high efficiency (96.5% max), low THD (<3%), and reliable grid connection. The dual-loop control strategy with a two-stage MPPT algorithm ensures fast dynamic response and stable steady-state performance. This design has been successfully mass-produced and deployed in multiple distributed photovoltaic power stations. The use of a line-frequency transformer provides excellent galvanic isolation and harmonic suppression, making this solar inverter suitable for a wide range of grid conditions. Future work will focus on increasing the switching frequency to reduce filter size and exploring GaN devices for higher efficiency.